Team:Jefferson VA SciCOS/Notebook
From 2013hs.igem.org
| (3 intermediate revisions not shown) | |||
| Line 17: | Line 17: | ||
{|align="justify" | {|align="justify" | ||
| | | | ||
| - | |||
| - | |||
| - | |||
'''January 2013 - May 2013''' | '''January 2013 - May 2013''' | ||
| Line 100: | Line 97: | ||
We performed a miniprep using the liquid cultures that we had made the other day. See protocol for miniprep | We performed a miniprep using the liquid cultures that we had made the other day. See protocol for miniprep | ||
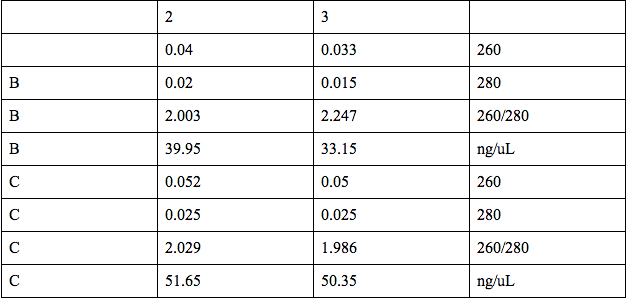
We then quantified the plasmids from Miniprep using the microspectrophotometer. We dropped 1 ul of distilled water in the two spots in the first row (A) for the blank. We dropped 1 ul of the oxygen promoter in the two spots in the second row (B) and 1 ul of KGF in the two spots in the third row (C). Our results follow: | We then quantified the plasmids from Miniprep using the microspectrophotometer. We dropped 1 ul of distilled water in the two spots in the first row (A) for the blank. We dropped 1 ul of the oxygen promoter in the two spots in the second row (B) and 1 ul of KGF in the two spots in the third row (C). Our results follow: | ||
| - | + | |} | |
| - | + | {|align = "center" | |
| + | | | ||
[[File:TimelineTable1.jpg]] | [[File:TimelineTable1.jpg]] | ||
| - | + | |} | |
| - | + | {|align="justify" | |
| + | | | ||
Our results showed that we had an almost pure sample of the KGF, and slightly impure sample of the oxygen promoter. The microspectrophotometer was provided by Dr. Burnett. Later in the day, we ordered Spe1 and Xba1 restriction enzymes from ThermoScientific, in order to cut the oxygen promoter and the KGF at Spe1 and Xba1 restriction sites. | Our results showed that we had an almost pure sample of the KGF, and slightly impure sample of the oxygen promoter. The microspectrophotometer was provided by Dr. Burnett. Later in the day, we ordered Spe1 and Xba1 restriction enzymes from ThermoScientific, in order to cut the oxygen promoter and the KGF at Spe1 and Xba1 restriction sites. | ||
| Line 116: | Line 115: | ||
The two restriction enzymes, Spe1 and Xba1, arrived. Each enzyme packaging also came with a tube of 10 x buffer, which we used in the restriction digest. See protocol for restriction digest. We performed the restriction by having two eppendorf tubes, each with 10ul of plasmid; the oxygen promoter or the KGF. To the tube with the oxygen promoter, we added 1ul of EcoR1 and 1ul of Spe1. To the tube with the KGF, we added 1ul of EcoR1 and 1ul of Xba1. 2ul of 10x buffer and 6 ul of distilled water were added to each of the tubes. We then incubated the tubes in the 37 degree Celsius waterbath for an hour. | The two restriction enzymes, Spe1 and Xba1, arrived. Each enzyme packaging also came with a tube of 10 x buffer, which we used in the restriction digest. See protocol for restriction digest. We performed the restriction by having two eppendorf tubes, each with 10ul of plasmid; the oxygen promoter or the KGF. To the tube with the oxygen promoter, we added 1ul of EcoR1 and 1ul of Spe1. To the tube with the KGF, we added 1ul of EcoR1 and 1ul of Xba1. 2ul of 10x buffer and 6 ul of distilled water were added to each of the tubes. We then incubated the tubes in the 37 degree Celsius waterbath for an hour. | ||
| - | + | |} | |
| - | + | {|align = "center" | |
| + | | | ||
| + | [[File:Timeline7.jpg|200px]] | ||
| + | |} | ||
| + | {|align="justify" | ||
| + | | | ||
'''June 17th, 2013''' | '''June 17th, 2013''' | ||
| Line 123: | Line 127: | ||
For the transformation, we used a slightly different protocol to expedite the process and make the best use of our available time. However, shortcuts don’t often work in science, which we learned the hard way after attempting to follow this protocol. We used the “What a Colorful World” Lab protocol from the BioBuilder website. Interestingly, the BioBuilder website makes labs that are derived from previous iGEM protocols that were successful. However, these protocols may have been highly tailored to the specific project, and not generalized enough to work with any project. See protocol for transformation | For the transformation, we used a slightly different protocol to expedite the process and make the best use of our available time. However, shortcuts don’t often work in science, which we learned the hard way after attempting to follow this protocol. We used the “What a Colorful World” Lab protocol from the BioBuilder website. Interestingly, the BioBuilder website makes labs that are derived from previous iGEM protocols that were successful. However, these protocols may have been highly tailored to the specific project, and not generalized enough to work with any project. See protocol for transformation | ||
| - | + | |} | |
| - | + | {|align = "center" | |
| + | | | ||
| + | [[File:Timeline3.jpg|200px]] | ||
| + | | | ||
| + | [[File:Timeline4.jpg|200px]] | ||
| + | |} | ||
| + | {|align = "center" | ||
| + | | | ||
| + | [[File:Timeline5.jpg|200px]] | ||
| + | | | ||
| + | [[File:Timeline6.jpg|200px]] | ||
| + | |} | ||
| + | {|align="justify" | ||
| + | | | ||
'''June 18th, 2013''' | '''June 18th, 2013''' | ||
Latest revision as of 03:01, 22 June 2013
|
January 2013 - May 2013 Brainstorm We came up with several different projects during this time period, but we inevitably quit many of them because we realized that they were impractical and difficult to produce in the lab. The first project was the domoic acid project, for which we originally submitted the abstract in March to iGEM headquarters. However, we realized that the signal transduction mechanism using the AMP receptor would be highly difficult to control considering the knowledge and skillset of the team members. Therefore, we decided to quit the domoic acid project. Afterwards, we started thinking about a lyme disease detection project using a viral vector. However, the complexity of this project and the safety regulations imposed by the use of Borrelia Burgdorferi led us to abandon this project also. Finally, we began looking through the iGEM parts registry and decided to apply the knowledge that we had gained from our study of wound healing in DNA Science 2 to a synthetic biology application. After reading about the VHb promoter, we thought about connecting this oxygen dependent part, which senses thresholds of saturated oxygen below 2%, to a growth factor producing gene. This machine would produce an angiogenesis promoting growth factor at near-anoxic levels in order to stimulate wound healing.
Ordered KGF from Parts Registry - We originally ordered KGF from the parts registry because according to our initial research, it is an important growth factor for the transition into the inflammatory phase from the proliferative phase. However, we soon realized that growth factors such as FGF and VEGF are more likely to promote angiogenesis, although several studies have indicated that KGF is also essential for the process. Therefore, we simultaneously ordered KGF and FGF with the intention of using FGF for the anoxia project and KGF for a constitutive promoters project. We never followed through with the other project however, due to time constraints. Also, due to lack of materials, such as chloramphenicol, we ended up using KGF for the anoxia project anyway.
Ordered FGF and oxygen promoter from Parts Registry - see post above (parts postmarked May 31st)
Received KGF, FGF and oxygen promoter
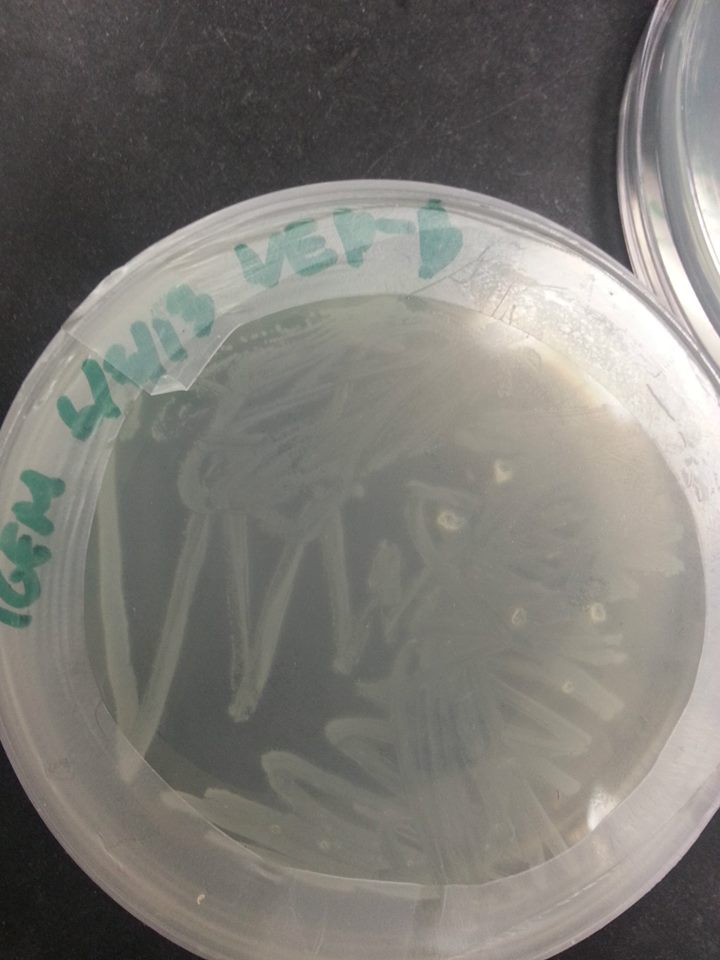
Officially started the project We streaked the NEB-beta culture onto amp resistant plates. We planned to use these plates for a transformation of the newly created part. See protocol for growing bacteria on plates
Checked the wild-type NEB-beta culture that we grew the previous day. The bacteria grew perfectly! |
|
Bacteria on the wild-type NEB-beta plate |
|
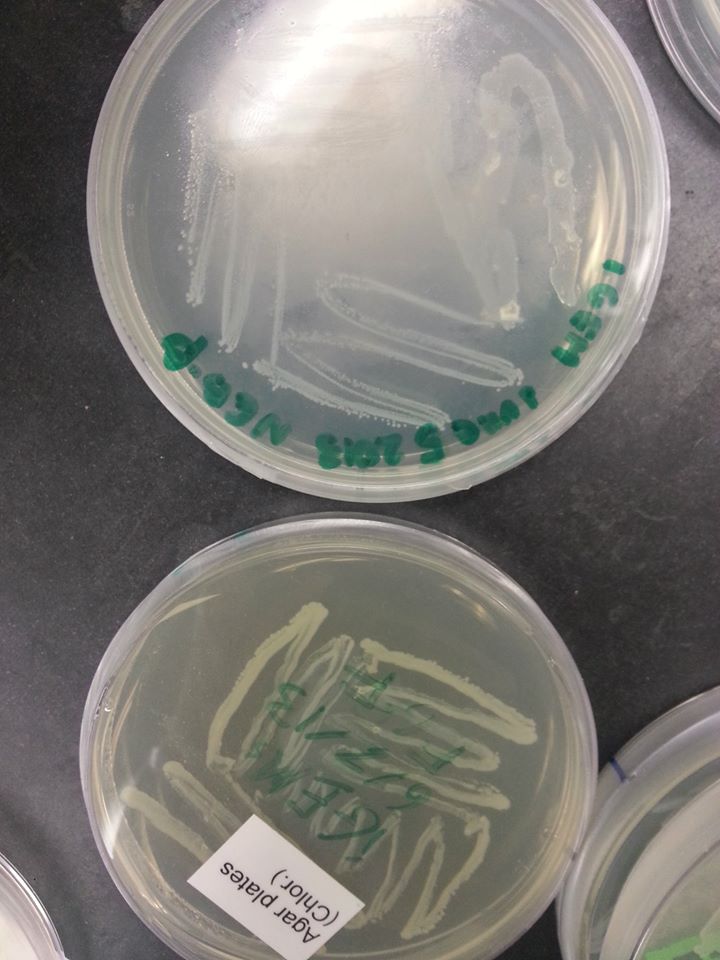
June 7th, 2013 The oxygen promoter, KGF, and FGF genes came as linearized parts, which means that they were assembled into plasmids that were already transformed into bacteria. These bacteria were grown on agar stabs, which were mailed to our lab in small flasks. In order to isolate the parts, we first had to grow the bacteria containing the plasmid parts on plates containing the same resistance as the plasmids. See protocol for growing bacteria on plates
KGF & Oxygen promoter - pMA FGF - pBS1C3 Since the pMA plasmid bears ampicillin resistance, we had to grow the bacteria containing the KGF and oxygen promoter parts on an ampicillin plate. Since the pBS1C3 plasmid bears chloramphenicol resistance, we had to grow the bacteria containing the FGF part on a chloramphenicol plate. The bacteria were grown over the weekend and the plates were examined on the following Monday.
|
|
Bacteria on the FGF plate (the one below) |
|
June 11, 2013 Cultures for KGF and the oxygen promoter were made. See protocol for making a liquid culture We added 5 ml of LB broth to 5 ul of ampicillin in order to get a concentration of 100 ug/ml and to grow the cells in the environment suited for their ampicillin resistance. Both the LB broth and the ampicillin were provided for us by our mentor, Dr. Burnett. We scraped a few colonies from our KGF and oxygen promoter plates and put them in the liquid broth. We incubated the liquid broth overnight.
We performed a miniprep using the liquid cultures that we had made the other day. See protocol for miniprep We then quantified the plasmids from Miniprep using the microspectrophotometer. We dropped 1 ul of distilled water in the two spots in the first row (A) for the blank. We dropped 1 ul of the oxygen promoter in the two spots in the second row (B) and 1 ul of KGF in the two spots in the third row (C). Our results follow: |
|
Our results showed that we had an almost pure sample of the KGF, and slightly impure sample of the oxygen promoter. The microspectrophotometer was provided by Dr. Burnett. Later in the day, we ordered Spe1 and Xba1 restriction enzymes from ThermoScientific, in order to cut the oxygen promoter and the KGF at Spe1 and Xba1 restriction sites.
We anxiously waited for the arrival of the restriction enzymes, but they never came! Therefore, instead of working in the lab, we took care of the logistics of our trip to the Jamboree.
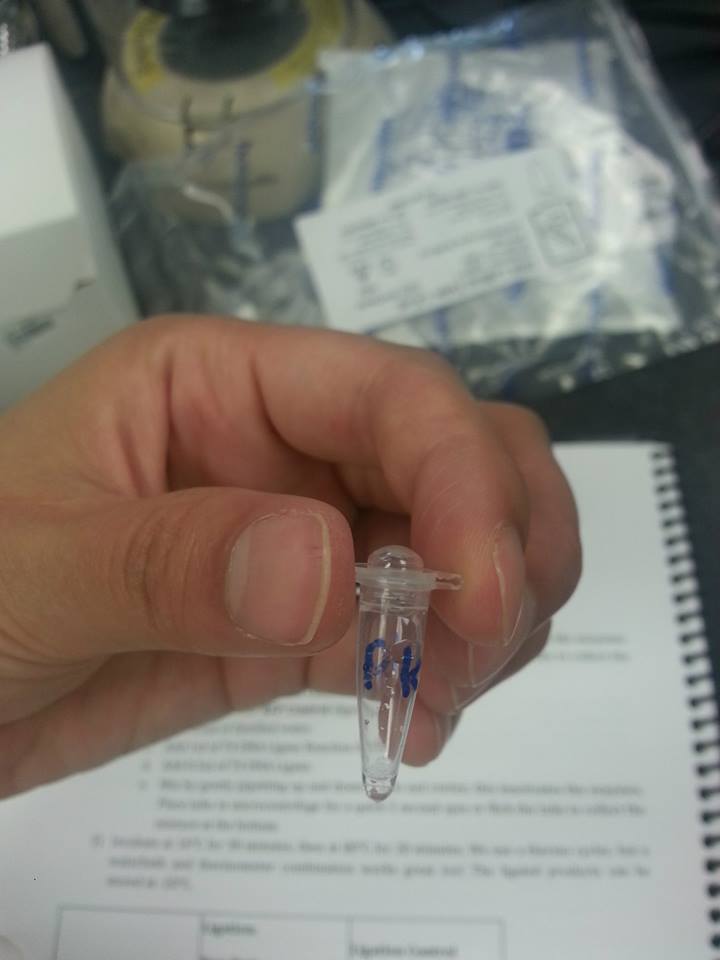
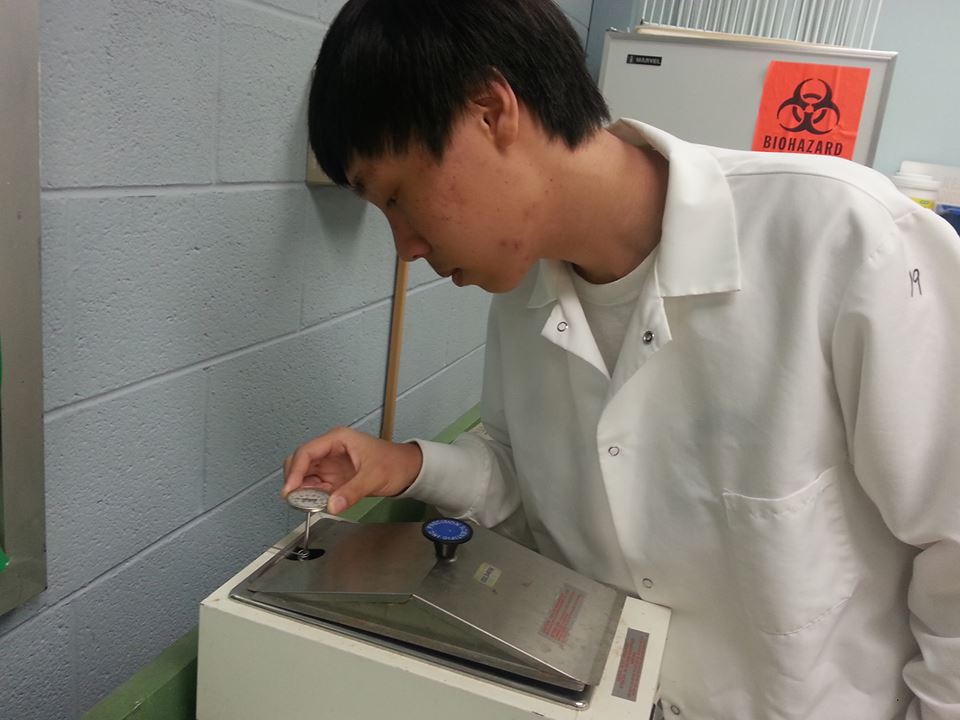
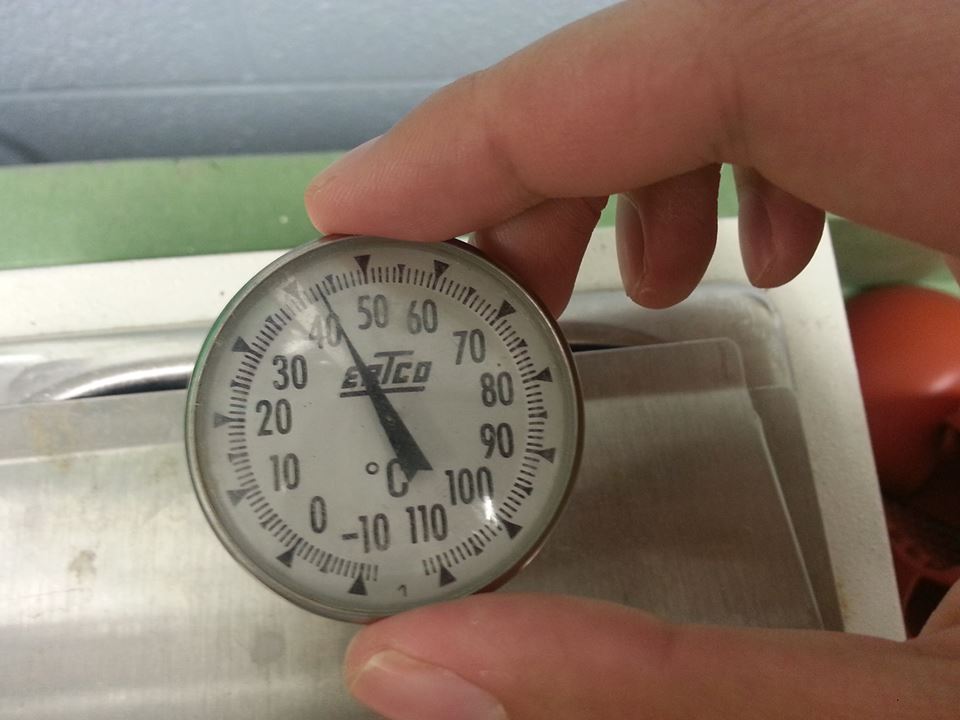
The two restriction enzymes, Spe1 and Xba1, arrived. Each enzyme packaging also came with a tube of 10 x buffer, which we used in the restriction digest. See protocol for restriction digest. We performed the restriction by having two eppendorf tubes, each with 10ul of plasmid; the oxygen promoter or the KGF. To the tube with the oxygen promoter, we added 1ul of EcoR1 and 1ul of Spe1. To the tube with the KGF, we added 1ul of EcoR1 and 1ul of Xba1. 2ul of 10x buffer and 6 ul of distilled water were added to each of the tubes. We then incubated the tubes in the 37 degree Celsius waterbath for an hour. |
|
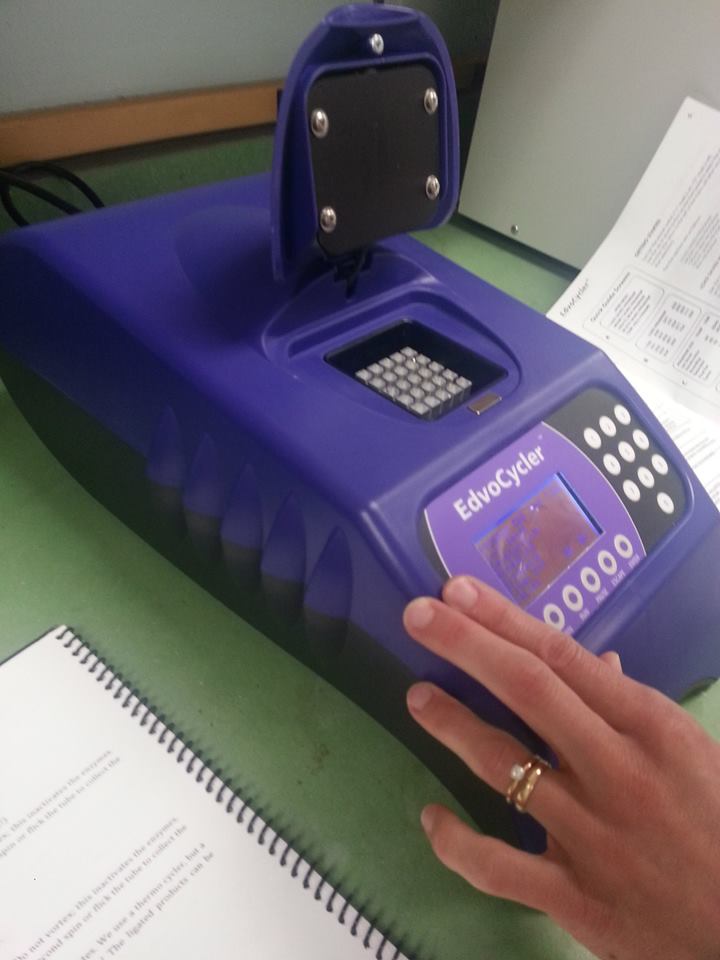
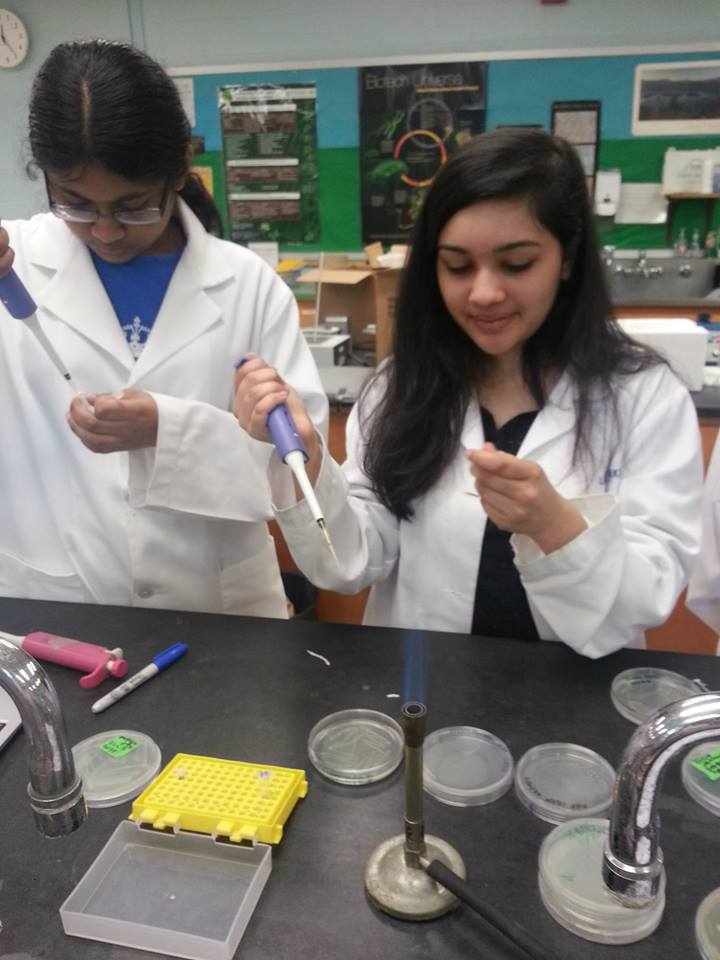
June 17th, 2013 We did a ligation reaction by adding 5 ul of distilled water, 6 ul of each of the digested parts, 2 ul of T4 DNA ligase buffer, and 1 ul of T4 DNA ligase to an eppendorf tube, keeping everything on ice at all times. We then put the ligation mixture into a thermocycler, which was provided by Dr. Burnett, and ran it for 30 minutes at 16 degrees Celsius, and the for 20 minutes at 80 degrees Celsius. For the transformation, we used a slightly different protocol to expedite the process and make the best use of our available time. However, shortcuts don’t often work in science, which we learned the hard way after attempting to follow this protocol. We used the “What a Colorful World” Lab protocol from the BioBuilder website. Interestingly, the BioBuilder website makes labs that are derived from previous iGEM protocols that were successful. However, these protocols may have been highly tailored to the specific project, and not generalized enough to work with any project. See protocol for transformation |
|
June 18th, 2013 Last day of experimentation. We checked to see if the transformation had worked, but it did not. We did not have the proper resources or time to do the transformation again, so we unfortunately had to stop at this point. |
 "
"
